Date December 24, 2020
Category
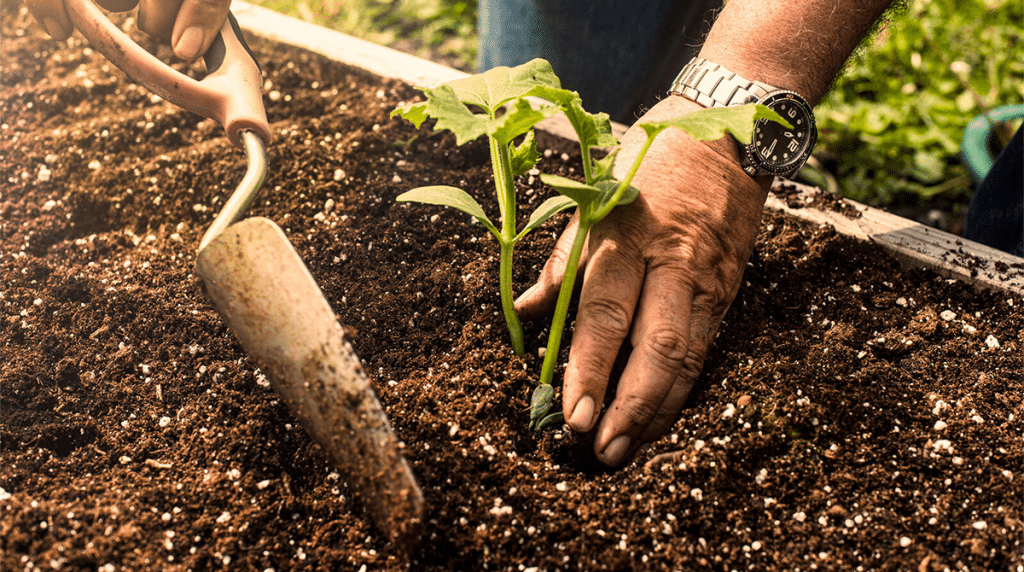
We all love the shopping stage of planting new trees and dreaming about which tree will go where and how it will look in ten years. But there’s more to planting than just digging a hole, sticking a sapling inside, and waiting for it to grow magically. The magic is actually good planning, preparation, and maintenance, and it can be work. So before you dig in, don’t forget to do your research on properly preparing your soil for planting. Here are some planting tips and guidelines to help you get started:
When’s the best time to plant a new tree?
Planting trees might seem like an activity that is strictly relegated to springtime. Still, you can actually plant trees any time of the year, and there are even some distinct advantages to planting your new trees in the fall or winter. If you plant before the spring, it will give your tree some time to get established in its new surroundings. Then when springtime does come around, the new tree will be ready to dig deep, leaf out, and soak up those refreshing spring showers.
Why is soil preparation so important?
Here’s the dirt on soil: We see and enjoy the part of the tree that’s above ground, so it can be easy to forget that what’s happening out of sight is an important part – if not the most important part – of a tree’s overall health and vitality. A healthy root system determines the strength, alignment, and health of the tree, and you get healthy roots by first having good, rich soil.
Understanding the type of soil, you’re working with
Texas is a big place with a wide variety of landscaping, climate, vegetation, and soil. There are more than 1,300 different recognized soils in Texas. To make our jobs a little easier, Texas has been divided into 21 major land resource areas based on similar soils, climate, and vegetation. So the first thing to figure out before planting in Texas is what kind of soil you’re working with. You can start by finding out which land resource area your home or property is located within. The Dallas-Fort Worth metroplex includes:
- Blackland Prairie (includes all or parts of Dallas County, Collin County, Rockwall County, Ellis County, and Kaufman County): The soil in the Blackland Prairie is made up of a dark gray to black, alkaline clay known as the “cracking clay” due to the deep cracks that form during dry seasons. In some areas, there’s a layer of chalk underneath the clay. In other areas, the soil is slightly acidic.
- Grand Prairie (includes all or parts of Denton County, Wise County, Tarrant County, Parker County, and Johnson County): The soils at higher elevations within the Grand Prairie land resource area tend to be primarily dark gray alkaline clay. In some areas, the clay is naturally very fertile and mixed with sand and silt. In these areas, you will often find limestone underneath the clay. Other areas are stonier. In the areas near the rivers, especially the Red River and Brazos River, a reddish loamy (meaning a balanced mixture of clay, sand, silt) soil can be found.
- Eastern Cross Timbers (includes all or parts of Denton County, Tarrant County, and Johnson County): The areas at a higher elevation in the Eastern Cross Timbers land resource area contain soils primarily deep, light-colored, slightly acidic mixtures of sand and clay. In some areas, the loamy sand has a reddish hue. In the bottomland areas, the soils are dark gray to reddish-brown and slightly acidic to alkaline mixtures of loamy clay.
- Western Cross Timbers (includes parts of Wise County and Parker County): The upland soils in the Western Cross Timbers area are primarily deep, fertile mixtures of loamy clay. They’re mostly gray-brown n color and slightly acidic. The soils are deep, red-brown in color, and a mixture of silt and clay that’s neutral to alkaline along the rivers.
- Post-Oak/Claypan Area (includes parts of Kaufman County): The soils in the Claypan area are usually thin, light in color, and acidic mixtures of sandy clay that form a surface layer over dense red, yellow and gray claypan subsoils. Some areas are deeper and more sandy with less clay. The soil in the areas at a lower elevation is deeper and extremely naturally fertile. They’re red-brown to dark gray in color and are loamy in some areas and heavier in clay in others.
Start with soil testing.
If anything is clear, it’s that there’s a variety of soils and soil mixtures just in the Dallas-Fort Worth area alone. Luckily, there’s an easy way to determine what kind of soil you’re starting with and what you might need to add to your soil to give new trees the best possible start. It’s called a soil test. A soil test can tell you the nutrient level in your soil and the pH and organic content levels. It’s important to do a soil test before adding fertilizer because your soil might already have everything it needs, and sometimes unnecessary tampering can do more harm than good.
To test your soil, first, contact your local Cooperative Extension Services. If you’re in Texas, you can send soil samples to the Soil, Water, and Forage Testing Laboratory at Texas A&M University. You can contact them by phone at 979-845-4816 or online at http://soiltesting.tamu.edu. Local County Extension offices (Google the location for your county) can provide instructions and sample bags, which will help you measure the amount of soil necessary for the soil test. If you’d rather use another bag you can, fill it with approximately one pint of the composite soil sample. You might need samples from different parts of your property, depending on the property’s size and soil variety. Follow the instructions carefully for collection and mailing. The number of subsamples, depth of sampling and soil compaction, and moisture could affect the results. You also need to carefully complete the information sheet because there are several potential soil tests available. They can test for routine nutrients, micronutrients, boron, detailed salinity, lime requirement, texture, and organic matter. You’ll need to specify which test you want. Instructions for mailing will also be included, and you’ll need to include payment with the sample. Expect it to take the lab between five to seven days to get the results.
What to do with the soil test results
The results will be in the form of a chart and might seem a little overwhelming at first glance. Take your time to look closely and fully understand the numbers. A few quick pointers:
- You’ll need to add compost if the report indicates the percentage of organic matter is under five percent.
- The list of nutrients will most likely be separate. If the report indicates that an element is lacking, add a fertilizer that replaces it.
- The soil pH is how you determine the acidity of the soil. The best, most fertile soil is within the six to seven range, which is slightly acidic. Anything above seven is considered alkaline. Soil pH above eight can become infertile.
- Mix overly acidic soils with alkaline soils or limestone to create a balanced mixture.
- To raise the acidity level and lower the soil’s alkalinity, you can add things like cottonseed meal, garden sulfur, pine bark, pine needles, or compost.
- Make sure to add these elements early to mix properly and create a balanced, productive soil. Follow the instructions for each of these products carefully because adding too much could push the acidity levels in the opposite direction.
- Maintaining the pH levels in the soil is not a one-time fix. You will need to retest the soil every year and make the appropriate amendments.
Doing a texture test.
There’s an easy DIY home test for determining the relative percentage of sand, silt, and clay in your soil. This is important to know because it will help you determine which types of trees to plant or how best to accommodate for your desired trees, as well as how to care for your trees once they’re planted.
- For this test, collect soil from the area where you plan to plant your tree. You’ll want to gather soil from the surface down to eight inches deep.
- If there are dry chunks, grind them into granules. Mix the soil sample well.
- Pour a layer of soil into a quart-sized glass jar. The layer should be about one inch deep.
- Add ¼ teaspoon of powdered dishwasher detergent.
- Add water until the jar is 2/3 full.
- Put the lid on and shake the jar for one minute. Make sure the soil is totally off the bottom and mixed well with the water.
- Put the jar on a counter or table where it can sit totally still.
- Set a timer for one minute. When the timer sounds, mark on the jar where the level of settled particles is. This is the level of sand.
- Set the timer for five minutes, and when it goes off again, mark the next level of settled particles. This is the level of silt.
- Come back in an hour or so and mark where the clay has settled.
Soil that has nearly equal percentages of all three elements is considered to be well-suited for planting.
Soil that consists of 70 percent or more of sand is highly aerated. It will be ready earlier in the year for planting, but it will also need to be watered and fertilized more often.
Soil that is 35 percent or more clay takes longer to dry and might need less water during the summer. It’s also likely to be richer and might not need a lot of additional fertilizer. However, it could need some added compost or sand to help aerate the soil and better drainage.
Testing the drainage
You can test the soil drainage by digging a hole that’s one foot deep and two feet wide and filling it to the top with water. If the water drains within one to 12 minutes, it’s considered to be very dry. If it drains within 12 to 30 minutes, then it’s ideal. If it takes 30 minutes to four hours to drain, it’s slow but OK for plants accustomed to moist soil. If it takes more than four hours to drain, that indicates that drainage is poor and will need some work.
Now what?
So you’ve done the tests. You know your soil. The next step is fertilization. The tests mentioned above will help you determine what kind of fertilizers your soil needs. For slight imbalances, you should use organic fertilizers. However, if you need fast results or to make a dramatic change to your soil, seek out inorganic options or a combination of both.
To best prepare your soil for planting, we highly recommend MitoGrow™, a product that encourages the root hair growth of most plants, including trees, and boosts the root system’s overall health. The moving and planting process can be stressful for young trees, and MitoGrow™ can be the leg-up your trees need to grow their roots and establish themselves in their new environment. It can be especially vital in a climate like we have in North Texas, which often faces severe drought during the summer months. Root hairs only last about two to three weeks before they die and are replaced by new cell growth. Periods of drought can severely stunt this process and sometimes even destroy the tree’s root hairs’ ability to soak up the necessary amount of water and nutrients. MitoGrow™ helps counteract that by boosting the tree’s ability to create continuous cell formation.
We’re always available to talk about TreeNewal’s blended fertilizer using MitoGrow™ or to talk about any questions you might have regarding soil and tree planting. Our TreeNewal team members are experts at tree nutrition and tree fertilization. Call us at tel:(817) 592-6846 to work with one of our ISA Certified Arborists.
To learn more about How To Prepare Soil For Planting: Tips and Guidelines, call our Argyle and Southlake based teams
at tel:(817) 592-6846 or send us a message.
We’re a little different than the average tree services company.
Learn more about TreeNewal’s ISA Certified Arborists!
Our Dallas/Fort Worth-based tree doctors can explain how sustainable tree care services add more value to your bottom line.
Healthy trees, healthy lives.
You May Also Like